How Can You Fix Common Valve Issues Before They Cost You Time and Money?
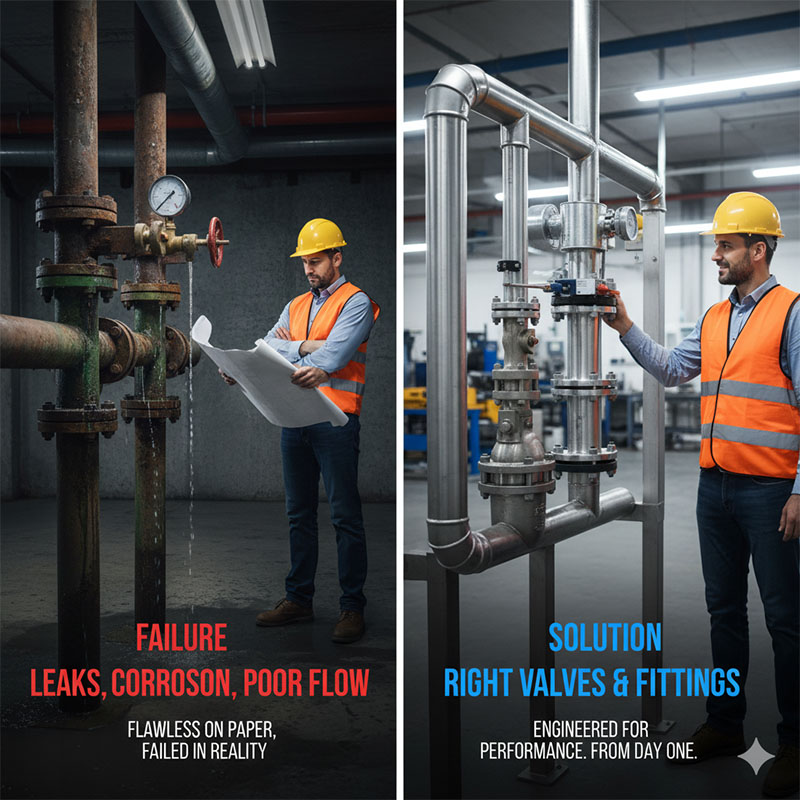
A simple valve failure can shut down an entire production line. It's a small component causing a huge, expensive headache, and you are left to pick up the pieces.
Most valve failures are predictable and preventable. Common issues like leaks, sticking, or noise often stem from incorrect specification, improper adjustment, or contamination, not a defective valve.

I once had a frantic call from a food processing client. A specific set of ball valves in their new "clean-in-place" system kept failing. The stem seals would start weeping after only a few weeks. They had replaced the valves twice, and the supplier swore they were high-quality. I went to the plant and asked a simple question: "What are you cleaning with?" It turned out they were using a new, aggressive sanitizing chemical. The standard EPDM seals in the valves simply weren't rated for that chemical; they were breaking down. We swapped them for valves with PTFE seals, and the problem vanished. It was a perfect reminder that the valve itself is often the symptom, not the root cause. You have to look at the whole system to find the real fix.
Is a Constantly Leaking Valve Stem Driving You Crazy?
You have a slow, persistent drip from a valve stem. It's making a mess and represents a constant safety hazard, but you think the only fix is a full replacement.
No, this is often the easiest fix. The packing nut on the valve stem is likely loose. A simple, careful quarter-turn with a wrench can re-compress the seals and stop the leak.

The area where the valve stem enters the body is a prime spot for leaks. But it's designed to be serviceable. Surrounding the stem, inside the valve, is a material called "packing." A component on the outside called the packing nut compresses this material to create a tight seal. Over time, due to vibration and countless operations, this packing can compress and the nut can loosen slightly, creating a tiny path for fluid to escape. For a designer like you, Jacky, it's like a screw vibrating loose. The solution isn't to replace the whole assembly. First, try gently tightening the packing nut—just a quarter-turn at a time—until the leak stops. If tightening doesn't work, the packing material itself is worn out and needs to be replaced, which is still much cheaper and faster than replacing the entire valve.
Tighten or Replace?
| Symptom | Action | Tool Needed |
|---|---|---|
| Slow, steady drip from stem | Tighten packing nut 1/4 turn clockwise | Wrench |
| Leak persists after tightening | Isolate and depressurize the valve | Wrench, packing removal tool |
| Tightening doesn't help | Replace the internal packing material | New packing material set |
Why Does Your Stainless Steel Valve Feel Like It's Welded Shut?
You have a stainless steel valve that has become incredibly difficult or impossible to turn. You suspect it's rusted, but it's stainless steel, so that shouldn't happen.
This isn't rust; it's a phenomenon called galling. Under pressure, the microscopic surfaces of two stainless parts can literally cold-weld themselves together, causing them to seize.
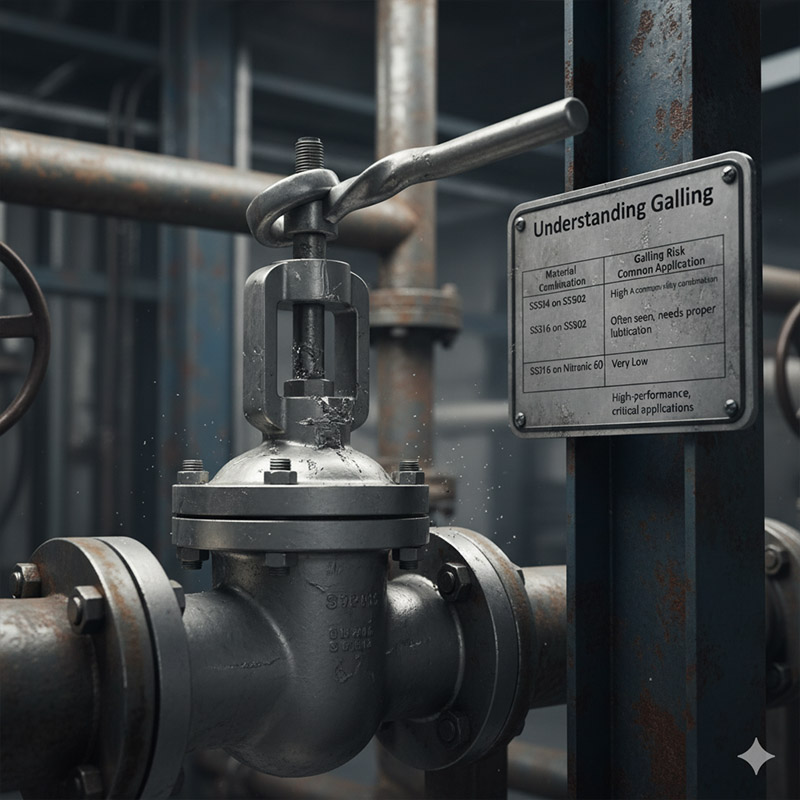
Galling is the secret enemy of stainless steel fasteners and components. While stainless steel is very smooth to the touch, its microscopic surface is rough. When you turn a stainless steel stem against a stainless steel body under high pressure, these microscopic peaks can rub together, generate friction, and fuse. This is called cold welding, or galling. Once it starts, it gets worse fast, and the valve can become completely seized. As a designer, you are used to specifying materials, and this is where a small change makes a huge difference. The solution is to use dissimilar materials that are less prone to galling. For example, we often specify a valve with a Nitronic 60 stem against a 316 stainless body. This material difference drastically reduces the risk of galling and ensures the valve operates smoothly for its entire life.
Understanding Galling
| Material Combination | Galling Risk | Common Application |
|---|---|---|
| SS304 on SS304 | High | A common but risky combination |
| SS316 on SS316 | High | Often seen, needs proper lubrication |
| SS316 on Nitronic 60 | Very Low | High-performance, critical applications |
Why Does Your Valve Still Leak Even When It’s Fully Closed?
You've completely closed a valve, but fluid is still passing through. You assume the internal seal has failed and the valve is defective and needs to be replaced entirely.
Before replacing it, check for trapped debris. A tiny piece of metal shaving, Teflon tape, or weld slag can get embedded in the valve's seat, preventing a complete seal.
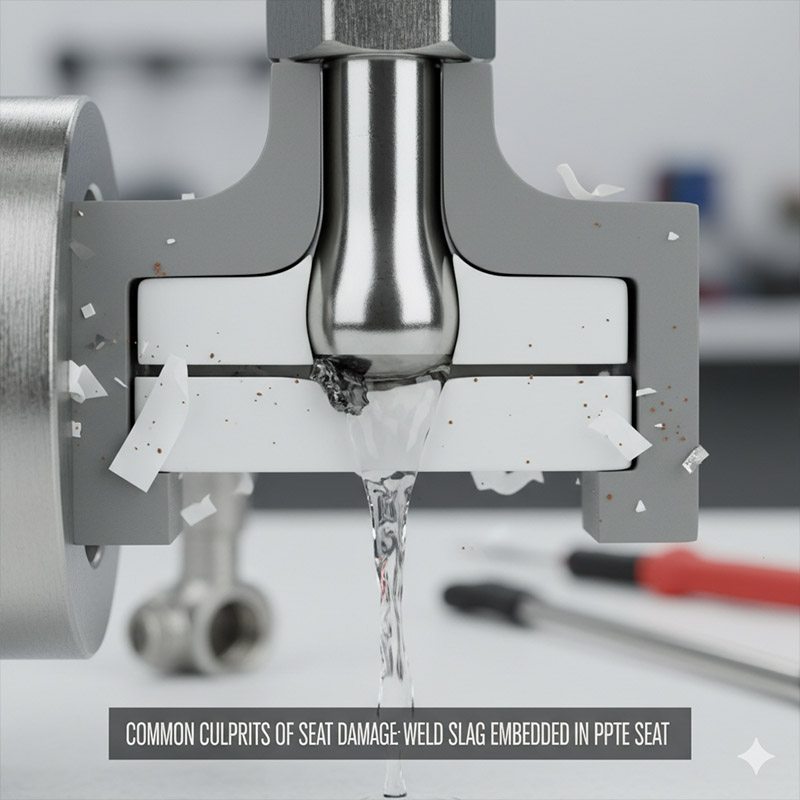
This is one of the most misdiagnosed issues I see. It's especially common in new systems. Think of a ball valve with a soft PTFE (Teflon) seat. When the valve closes, the polished metal ball presses into this soft seat to create a perfect seal. Now, imagine a tiny, hard piece of debris—like a grain of sand or a shard of metal from pipe threading—is in the pipeline. When you close the valve, the ball forces this debris into the soft seat. It creates a permanent dent. Now, even after you flush the debris away, that tiny dent remains as a leak path. Over-torquing the valve handle in an attempt to stop the leak only makes it worse, damaging the seat further. The fix is often to isolate, disassemble, and either clean or replace the inexpensive seats, not the entire expensive valve body.
Common Culprits of Seat Damage
| Debris Type | Source | How It Causes Leaks |
|---|---|---|
| Weld Slag/BBs | Welding during pipe installation | Hard particles indent soft seats |
| Pipe Scale/Rust | Old or carbon steel pipes | Abrasive particles scratch ball/seat |
| Teflon Tape Shards | Improperly applied thread sealant | Tape gets caught, preventing full closure |
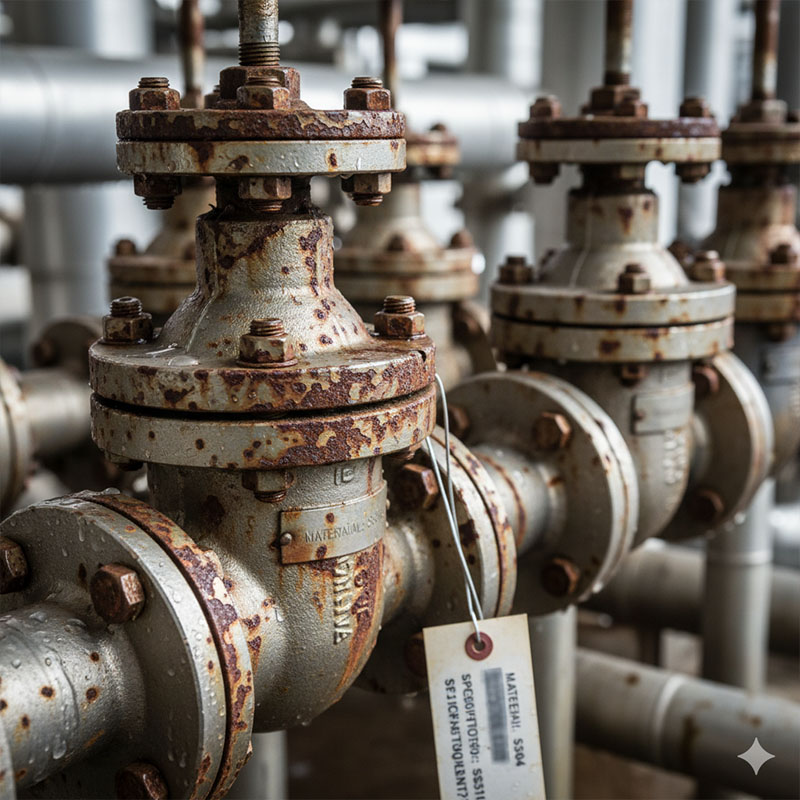
Didn't You Specify Stainless Steel to Avoid Rust?
Your product is showing surface rust or pitting on its stainless steel valves, especially in certain environments. This is alarming and makes you question your supplier's material quality.
This is a classic material grade issue. You likely used SS304 stainless steel when the environment required the superior corrosion resistance of SS316 stainless steel.
"Stainless steel" is a family of materials, not a single one. The two most common workhorses are Grade 304 and Grade 316. They look and feel identical. For many applications, 304 is perfectly fine and is less expensive. However, 316 contains a crucial element that 304 lacks: Molybdenum. This one ingredient gives SS316 vastly superior resistance to corrosion from chlorides. What are chlorides? The most common one is salt. This makes SS316 absolutely essential for any marine applications, coastal areas, or for systems that handle certain chemicals. Using SS304 in a salty environment is a recipe for surface rust and pitting. As a designer, Jacky, specifying "SS316" on your drawing is a critical instruction that prevents field failures years down the line.
When to Use SS304 vs. SS316
| Grade | Key Feature | Best For | Avoid In |
|---|---|---|---|
| SS304 | General corrosion resistance | Kitchens, architectural trim, freshwater | Saltwater, chemical processing, pools |
| SS316 | Chloride corrosion resistance | Marine hardware, pharma, food processing | Applications where cost is the only factor |
Does Your Valve Vibrate Violently or Make Loud Noises?
When your system is running, a valve is vibrating, humming, or making a loud "rocks in the pipe" sound. This noise is unsettling and suggests the valve is about to fail.
This noise is likely cavitation, not a faulty valve. It's a system problem caused by a rapid pressure drop across the valve, which makes tiny water vapor bubbles implode violently.
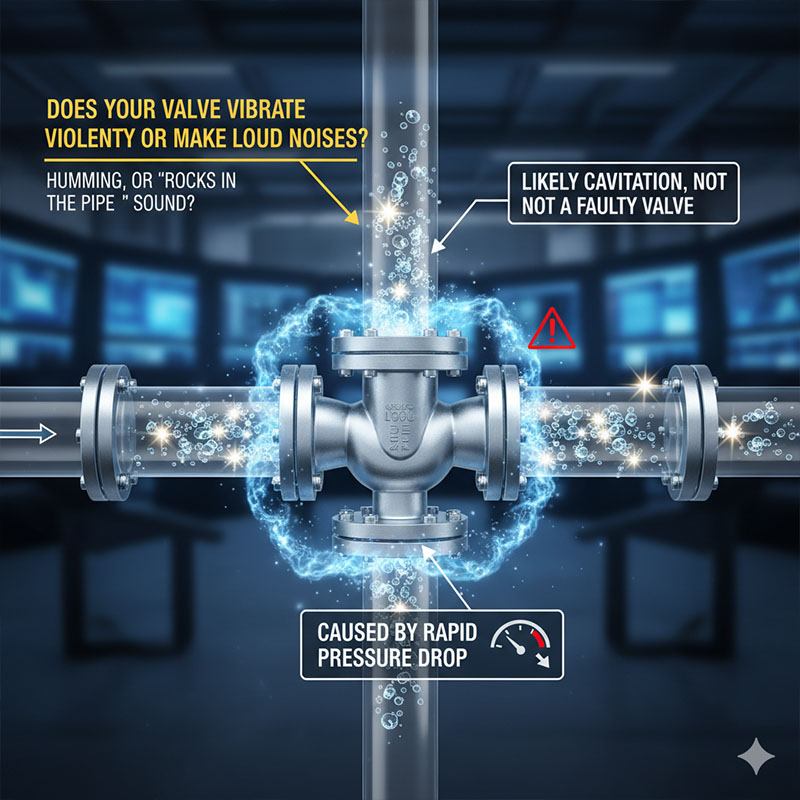
This is one of the most destructive forces in a pipeline system. Here's what happens: As fluid goes through a partially open valve, its velocity increases and its pressure drops. If the pressure drops low enough, the liquid can actually boil, even at room temperature, forming tiny vapor bubbles. As these bubbles move past the valve's opening into a higher pressure zone, they collapse, or implode, with incredible force. This creates the loud noise and intense vibration you're experiencing. These implosions can physically blast metal away from the valve's internals, destroying it over time. This is almost always a system design issue, not a valve defect. The fix might involve changing the valve's location, using a special anti-cavitation valve, or adjusting the system's overall pressure profile.
Understanding Valve Noises
| Sound | Likely Cause | Damage Potential |
|---|---|---|
| Loud Rumbling / Gravel Noise | Cavitation | High; can destroy valve internals |
| High-Pitched Whistling | High fluid velocity | Moderate; can cause erosion |
| Rapid Clattering / Chattering | Unstable flow / oversized valve | High; can cause stem and seat damage |
Conclusion
Solving valve problems means looking beyond the symptom. By understanding root causes like packing, galling, debris, and material grades, you can prevent failures and build far more reliable systems.